Transform Your Living Spaces with Proven Techniques for Polishing Porcelain Tiles
Unveiling the Comprehensive Process of Polishing Porcelain Tiles
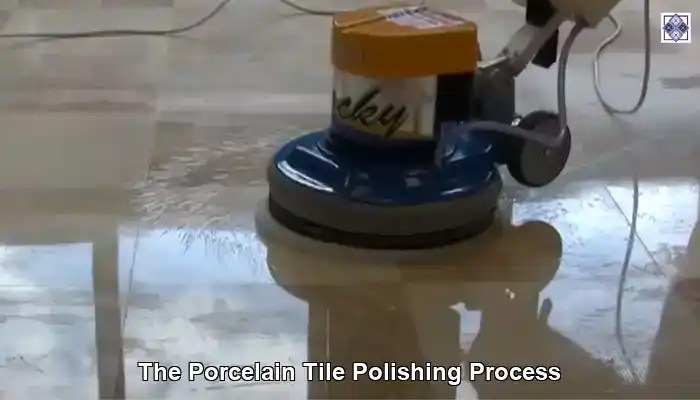
Polishing porcelain tiles is a crucial technique that not only revitalises but also significantly enhances the aesthetic appeal and functionality of your tiles. This meticulous process is dedicated to restoring the lustre and smooth finish of porcelain tiles, effectively rejuvenating their visual allure while extending their longevity. A well-polished surface not only elevates the aesthetic of porcelain tiles but also boosts their durability against stains and scratches. Employing specialised tools and techniques, this process successfully removes surface imperfections, transforming dull tiles into stunning surfaces that captivate attention. The benefits of a polished finish go beyond mere aesthetics; it fosters a cleaner environment, as dirt and grime are less likely to adhere to a glossy surface, contributing to a healthier, more inviting home.
Professional Recommendations: Top Products for Ongoing Care of Your Porcelain Tiles

ECOPROTEC Natural Stone & Porcelain Aftercare Cleaner
|
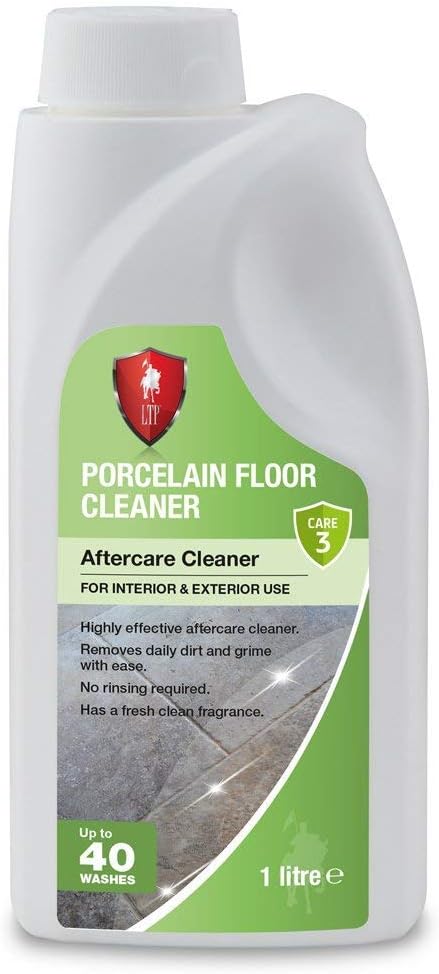
LTP Porcelain Floor Tile Cleaner
|
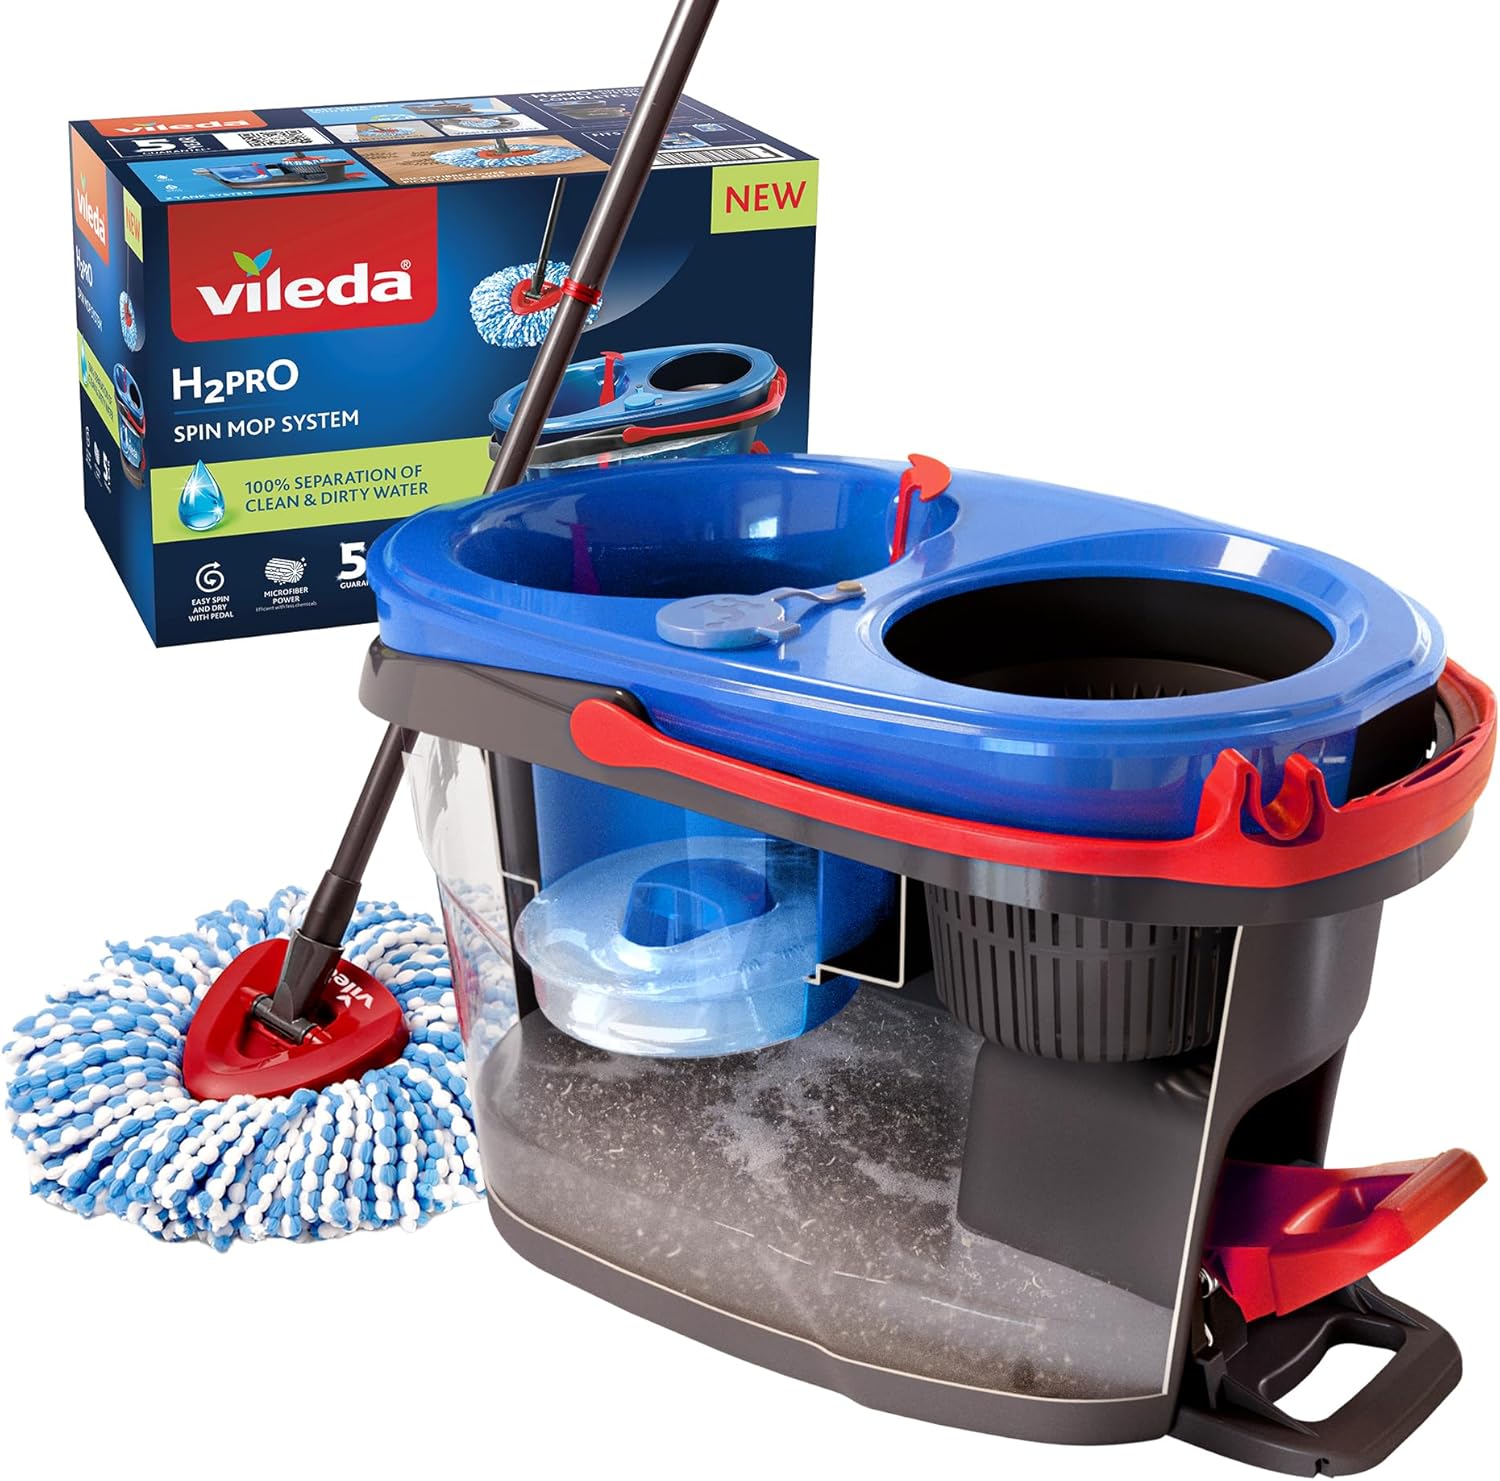
Vileda H2PrO Spin Mop System
|
Discovering the Numerous Benefits of Professional Porcelain Tile Polishing
Investing in professional porcelain tile polishing offers a multitude of benefits, making it a worthwhile consideration for both homeowners and business owners alike. Firstly, the visual attractiveness of polished porcelain tiles is greatly enhanced. A polished surface reflects light beautifully, creating a bright, airy atmosphere in various environments. This aesthetic improvement is particularly advantageous in spaces such as kitchens and bathrooms throughout the United Kingdom, where brightness and cleanliness are of utmost importance.
Moreover, polished tiles simplify maintenance tasks considerably. The smooth surface effectively prevents the build-up of dirt and grime, making regular cleaning less time-consuming and requiring fewer harsh chemicals. This not only conserves valuable time but also contributes positively to environmental sustainability. Additionally, the durability of tiles is enhanced through the polishing procedure, which seals the surface and reduces the likelihood of cracks and chips arising over time due to everyday use. By opting for professional porcelain tile polishing, you ensure that your tiles remain in excellent condition for many years, significantly boosting the overall value of your property.
Recognising the Optimal Times for Polishing Your Porcelain Tiles
Timing is critical in the realm of professional porcelain tile polishing. It is advisable to initiate the polishing procedure when your tiles show signs of wear, such as dullness or staining. A useful guideline is to observe areas that no longer reflect light as they once did; this lack of shine often indicates that the surface layer may be compromised. Regular assessments of your tiles, particularly in high-traffic areas like hallways and living rooms, will aid you in determining the right moment to invest in polishing.
In addition to regular wear and tear, various external factors can also affect the timing of your polishing needs. For instance, heavy foot traffic, the presence of pets, or even the use of aggressive cleaning products can hasten the need for polishing. Homeowners in bustling cities like London and other crowded areas should remain vigilant regarding the condition of their tiles. By taking a proactive stance on polishing, you can ensure that your porcelain tiles consistently maintain their immaculate appearance, thereby enhancing both your home’s visual appeal and its overall market value.
Crucial Steps to Prepare Your Porcelain Tiles for Professional Polishing
Conducting a Thorough Cleaning Prior to the Polishing Process
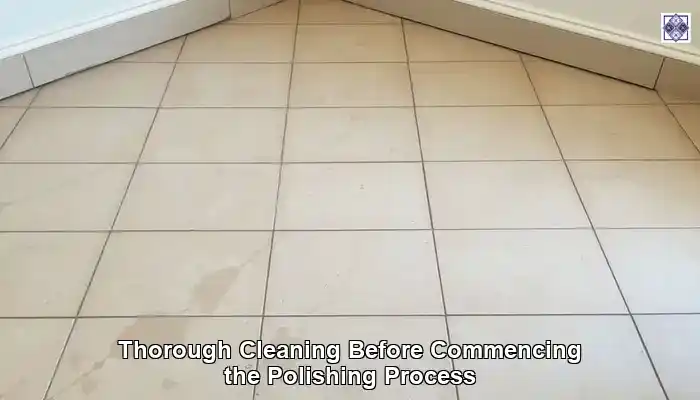
The foremost and most vital step in preparing for professional porcelain tile polishing is ensuring that the tiles are spotlessly clean. Accumulated dust, dirt, and grime can severely hinder the polishing process, leading to unsatisfactory results. Begin with a comprehensive cleaning routine, utilising a pH-neutral cleaner specifically formulated for porcelain tiles. This step guarantees that any residues from previous cleaning agents are effectively neutralised, creating optimal conditions for polishing.
Employing a soft-bristled brush or mop can assist in removing stubborn dirt without scratching the tile surface. Pay particular attention to corners and grout lines, as these areas tend to collect more grime. After cleaning, it is essential to rinse the tiles thoroughly with clean water to eliminate any leftover cleaner. Allow the tiles to dry completely before proceeding to the next step; moisture can impede the effectiveness of the polishing compounds and tools that will be applied later.
Additionally, consider performing a meticulous inspection during this cleaning phase. Look for chips, cracks, or discolouration that may need addressing before polishing. By dedicating time to this preparatory stage, you lay the groundwork for a successful polishing process, ensuring your tiles achieve that desired radiant shine.
Gathering Essential Tools and Materials for Effective Polishing
Equipping yourself with the right tools and materials is essential for achieving exceptional results in professional porcelain tile polishing. The primary equipment required is a high-quality polishing machine, which may vary in size and power based on the area you plan to cover. For smaller spaces, a handheld machine may suffice, while larger areas could benefit from a commercial-grade floor polisher.
Polishing pads are indispensable and should be carefully chosen according to the specific requirements of your tiles. A typical set will include coarse, medium, and fine pads, allowing for progressive refinement of the surface. Coarse pads are crucial for eliminating deeper scratches and imperfections, while medium pads create a more polished texture, and fine pads deliver that final glossy finish.
In conjunction with the polishing machine and pads, you will need high-quality polishing compounds specifically designed for porcelain tiles. These compounds contain fine abrasives that help achieve a smooth finish. Ensure to select products that are compatible with your polishing machine to avoid any damage. Lastly, do not underestimate the importance of safety gear, including gloves, goggles, and masks, to protect yourself during the polishing process.
Implementing Vital Safety Protocols During the Polishing Process
Adopting safety precautions is crucial when engaging in professional porcelain tile polishing. The use of polishing machines and compounds can present risks if not handled properly. Start by wearing protective gloves to shield your hands from the chemicals in the polishing compounds. Moreover, it is advisable to wear goggles to protect your eyes from dust and debris generated during the polishing process.
Ensuring proper ventilation is another essential aspect to consider. Confirm that the area you are polishing is well-ventilated to prevent inhaling fumes from the polishing compounds. Open windows and doors, and use fans to improve airflow. If working in a confined space, wearing a mask can provide additional protection for your respiratory system against dust and chemical exposure.
By prioritising these safety measures, you not only safeguard your health but also ensure a smooth and efficient polishing process. This focus allows you to concentrate on achieving the best results for your polished porcelain tiles without unnecessary risks.
Detailed Step-by-Step Guide to the Polishing Process
Embarking on the Polishing Process with the Initial Phase
The journey toward achieving beautifully polished porcelain tiles commences with the initial polishing stage. This step is vital for establishing the foundation for a successful polishing experience. Start by selecting a coarse polishing pad, which is crucial for removing surface imperfections such as scratches and stains. As you begin, it’s essential to distribute the weight of the polishing machine evenly to avoid creating uneven surfaces.
During this initial phase, it’s advisable to work in small sections. This approach allows you to concentrate your efforts and ensure thorough coverage. Operate the machine in a consistent pattern—either in straight lines or circular motions—depending on the shape of your polishing pad. This technique ensures that no spots are overlooked and contributes to achieving a uniform finish across the tiled area.
Keep a close eye on the tiles as you work; you should observe a significant improvement as the polishing pad eliminates imperfections. Once you’ve completed polishing a section, wipe it down with a clean, damp cloth to remove any dust or debris generated during the process. This step is essential for ensuring a seamless transition to the intermediate polishing stage.
Enhancing Surface Quality in the Intermediate Polishing Stage
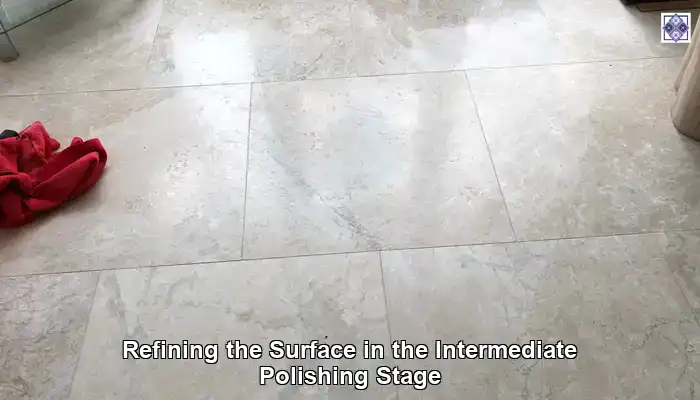
Upon completing the initial polishing stage, you can progress to the intermediate polishing stage, which focuses on further refining the surface. At this juncture, it’s time to switch to a medium polishing pad. The primary aim of this pad is to smooth out the surface and enhance the shine without causing scratches or damage.
As you continue, apply gentle, consistent pressure while manoeuvring the polishing machine across the tiles. This stage emphasises finesse; the goal is to create a glossy surface that displays an attractive sheen. Depending on the condition of your tiles, this stage may require additional time, but the results will be exceptionally rewarding.
Regularly monitor your progress by examining the surface for uniformity. Once all imperfections from the previous stage have been addressed and the tiles appear uniformly smooth, you can advance to the final polishing stage. Ensure that you clean the tiles thoroughly after this intermediate phase to remove any residue left behind, guaranteeing optimal results in the next step.
Realising the Desired Finish in the Final Polishing Stage
The final polishing stage is where the true transformation occurs. With a solid foundation laid in the initial and intermediate stages, you will now utilise a fine polishing pad to achieve that high-gloss finish that typifies professional porcelain tile polishing. During this phase, it’s crucial to apply minimal pressure, allowing the fine pad to operate effectively without risking scratches or damage to the surface.
As you embark on this stage, pay close attention to the speed of the machine. Slower speeds often yield better results when working with fine pads, as they permit more controlled polishing of the surface. Move methodically across the tiles, ensuring you cover every inch without overlapping, as this can create uneven patches.
Once you’ve polished the entire area, take a moment to evaluate your work. The tiles should now be gleaming, reflecting light beautifully. In some instances, you may wish to revisit particularly dull areas for an extra touch. This is your final opportunity to refine your work before moving on to the cleaning and inspection phase, where any polishing residue will be eliminated.
Thorough Cleaning and Inspection of Your Newly Polished Tiles
After achieving that stunning, polished look, the next essential phase is the cleaning and inspection stage. This step serves two primary purposes: removing any remaining polishing residue and closely examining the surface for imperfections that may require attention. Begin by wiping down the freshly polished tiles with a clean, damp cloth or mop to eliminate any dust and remnants left from the polishing compounds. This step is critical, as it ensures that leftover particles do not dull the gloss achieved during the polishing process.
Once the tiles have been cleaned, take the time to inspect them meticulously. Look for areas that may require additional attention, such as those that may not have received enough polishing or have visible scratches. Conducting this inspection in a well-lit area will aid in identifying inconsistencies more easily. It is essential to address these issues before finalising the process, as they can detract from the overall finish.
If everything meets your expectations, you can confidently move to the sealing and protection phase, where you will add an additional layer of protection to your beautifully polished tiles, ensuring they maintain their shine for an extended period.
Final Sealing and Protection for Your Polished Porcelain Tiles
The sealing and protection phase acts as the finishing touch in the professional porcelain tile polishing process, ensuring that your tiles are not only stunning but also well-protected against future wear and tear. Applying a high-quality sealant is crucial; this acts as a barrier, safeguarding the polished surface from stains, dirt, and moisture. The right sealant will enhance and preserve the shine achieved during the polishing process, making ongoing maintenance simpler.
To apply the sealant, ensure that the tiles are clean and dry. Using a soft applicator or cloth, evenly spread the sealant across the tile surface, working in sections to guarantee comprehensive coverage. Follow the manufacturer's guidelines regarding drying time and the number of coats required for optimal protection. A well-sealed surface will prevent discolouration and keep your tiles looking magnificent for many years to come.
Furthermore, consider utilising a sealant with water-repellent properties, as this will further guard against moisture-related concerns, such as mould or mildew, which can be particularly problematic in humid environments like bathrooms. By meticulously executing this stage, you ensure the longevity of your polished porcelain tiles, allowing them to remain a stunning feature of your home.
Overcoming Common Challenges in Porcelain Tile Polishing
Effectively Tackling Stubborn Stains on Porcelain Tiles
Stubborn stains on porcelain tiles can present a significant challenge when striving for a flawless polished finish. For particularly tenacious stains, it is essential to employ a stain remover specifically formulated for porcelain tiles. These targeted products are designed to penetrate the surface and dissolve the substances causing the stains without damaging the tiles.
Before commencing the polishing process, apply the stain remover according to the manufacturer’s instructions. Allow it to sit for the recommended duration, which can differ based on the severity of the stain. Following this, use a soft cloth or sponge to gently scrub the area, taking care to avoid scratching the tile surface. Rinse thoroughly with water to ensure that no residue remains, as this could interfere with the polishing process.
In cases where stains persist despite using a dedicated remover, seeking professional assistance may be necessary. An expert in professional porcelain tile polishing will have access to powerful cleaning agents and techniques capable of effectively eradicating stubborn stains, ensuring your tiles are in pristine condition before polishing.
Rectifying Uneven Surfaces on Your Tiles
Uneven surfaces on porcelain tiles can complicate the polishing process, resulting in inconsistent outcomes. Before initiating professional porcelain tile polishing, it is crucial to evaluate the surface for any discrepancies. If you detect unevenness, a levelling compound can be employed to rectify these issues.
Applying a levelling compound involves mixing the product according to the manufacturer's guidelines and then spreading it evenly over the affected areas. This procedure ensures that your tiles provide a flat and stable surface for the subsequent polishing stages. Once applied, allow the compound to cure completely before moving forward with cleaning and polishing.
Bear in mind that addressing uneven surfaces may require some time; however, the effort invested will yield substantial benefits in the long run. A level surface facilitates a more effective polishing process, culminating in a significantly more visually appealing finish that highlights the beauty of your porcelain tiles.
Avoiding Scratches During the Polishing Process
The fear of scratches during the professional porcelain tile polishing process is a common concern for many homeowners. To minimise the risk of scratches, it is vital to select the appropriate polishing pad. Ensure that the pad used is suitable for the hardness of your porcelain tiles. Opting for a pad that is too abrasive for the tile’s surface can result in unsightly scratches that detract from the polished finish.
When operating the polishing machine, apply gentle, consistent pressure. Avoid exerting excessive force, as this can lead to scratches and uneven results. It is also advisable to manoeuvre the machine at a steady pace, adequately covering each area without lingering too long in one spot. This technique minimises the risk of causing damage while ensuring effective polishing.
After the polishing process, conduct a thorough inspection of the tiles prior to sealing them. If any scratches are detected, consider addressing these areas with a finer polishing pad to further enhance the surface. By implementing these precautions, you can effectively prevent scratches and achieve a beautifully polished appearance without compromising the integrity of your tiles.
Removing Grout Haze for an Immaculate Finish on Your Tiles
Grout haze can often be an unwelcome issue when it comes to the final touches on porcelain tiles, especially following installation or maintenance. The fine residue left behind can significantly dull the appearance of polished tiles, making it essential to address this concern before commencing professional porcelain tile polishing. One effective method for eliminating grout haze is by using a specially formulated grout haze remover.
Begin by applying the grout haze remover according to the manufacturer’s guidelines. Typically, this involves applying the solution to the affected areas and allowing it to sit for a specified duration. After the designated time, use a soft cloth or sponge to gently scrub the haze away. Rinsing with clean water is crucial to ensure that no residue remains, as this could impact polishing efforts.
In instances where grout haze proves particularly stubborn, a mixture of water and vinegar can serve as an effective alternative. However, it’s important to test this solution on a hidden area first to ensure it does not adversely affect the tile surface. By diligently removing grout haze, you significantly improve the chances of achieving that highly sought-after polished appearance on your porcelain tiles.
Effectively Addressing Water Spots on Your Porcelain Tiles
Water spots on porcelain tiles can be unsightly and detract from the overall polished look of the tiles. Therefore, addressing these water spots prior to starting professional porcelain tile polishing is essential. Start by ensuring that the surface is completely dry after cleaning, as any moisture remaining can lead to the formation of water spots during polishing.
If you encounter persistent water spots, consider using a dedicated water spot remover. These products are specifically designed to break down mineral deposits responsible for spotting. Apply the remover according to the manufacturer’s instructions, allowing it to sit as directed before wiping it away with a clean, soft cloth.
For those who prefer a natural approach, a mixture of equal parts vinegar and water can effectively remove water spots. However, always remember to test this solution on a small area first to ensure compatibility with your tiles. By effectively managing water spots, you will enhance the preparation process and achieve a more brilliant, polished finish.
Proven Strategies for Maintaining Your Polished Porcelain Tiles
Establishing Regular Cleaning Routines for Superior Maintenance
To maintain the stunning appearance of your polished porcelain tiles, implementing a regular cleaning routine is crucial. The most effective practice is to utilise pH-neutral cleaners, specifically formulated for porcelain. These cleaners effectively eradicate dirt and grime without compromising the integrity of the polished surface. Avoid harsh cleaners containing acids or strong alkaline substances, as these can dull the finish over time.
Utilising a soft cloth or a microfiber mop will assist in lifting dirt without scratching the tiles. Regular sweeping or vacuuming is also highly recommended to prevent dirt accumulation, which could potentially scratch the surface when mopped. For deeper cleans, employing a damp mop with the appropriate cleaner will significantly help maintain the shine of your polished tiles.
Additionally, remain vigilant about spills, especially from acidic substances like vinegar or fruit juices. Promptly cleaning these will prevent staining and help preserve the polished appearance. By adopting these regular cleaning techniques, you’ll ensure your porcelain tiles remain as beautiful and vibrant as they were on the day they were polished.
Implementing Preventative Measures to Safeguard Your Polished Tiles
Preventing damage to your polished porcelain tiles is essential for maintaining their pristine condition. One effective strategy is to place mats at entrances to your home, as these will catch dirt and debris before it can scratch the tile surface. Encourage guests to wipe their shoes or remove them entirely to further limit the amount of dirt brought into the home.
Moreover, using furniture pads beneath table and chair legs can protect your polished tiles from scratches caused by movement. When rearranging furniture, always lift it instead of dragging it across the floor, as dragging can cause significant damage to the polished surface.
In high-traffic areas, consider rotating furniture periodically to prevent uneven wear and tear. Regular maintenance, combined with these proactive measures, will significantly extend the life of your polished porcelain tiles, ensuring they continue to be a stunning feature of your home.
Identifying the Right Time for Repolishing Your Tiles
Even the most beautifully polished porcelain tiles will require repolishing over time, particularly in high-traffic areas. The most reliable indication that your tiles need repolishing is a noticeable loss of shine or the emergence of scratches or dull patches. Typically, repolishing is recommended every few years, although this may vary based on usage, maintenance, and the specific type of porcelain tile.
Conducting regular inspections will help you determine the best time for repolishing. Look for signs such as decreased reflectiveness or a rough texture when running your hand over the surface. Moreover, if your cleaning efforts are becoming ineffective, or you find that stains are increasingly difficult to remove, it’s likely time to consider repolishing.
By prioritising polishing as part of your maintenance routine, you can extend the lifespan of your porcelain tiles and keep them looking their best for many years to come. A well-maintained, polished tile not only serves an aesthetic purpose but also enhances the overall value of your home.
Essential Considerations When Selecting a Professional Polishing Service
Key Factors to Assess in a Service Provider
When choosing a professional polishing service for your porcelain tiles, several key factors should guide your decision. Firstly, seek out a service provider with extensive experience in professional porcelain tile polishing. An experienced company will have a proven track record and the necessary skills to deliver top-quality results.
Customer reviews are invaluable when evaluating potential service providers. Look for testimonials that highlight the quality of work, attention to detail, and overall customer satisfaction. Furthermore, consider requesting recommendations from friends or family who have undergone similar work; personal experiences can often provide insights that online reviews may not capture.
It is also essential to verify that the company is licensed and insured. This protects you in the event of any accidents or damages that may occur during the polishing process. By taking the time to research and choose the right provider, you can ensure a positive experience and stunning results for your porcelain tiles.
Important Inquiries to Make Before Hiring a Service
Before committing to a professional polishing service, it’s essential to ask a few critical questions to ensure they meet your specific needs. Start by inquiring about their polishing process. Understanding the steps they take, the tools they use, and the products they apply will instil confidence in their expertise.
Additionally, ask about the specific products they utilise for polishing. High-quality compounds can significantly influence the outcome. Knowing whether they use eco-friendly, pH-neutral products can also impact your decision, particularly if you have concerns regarding environmental effects.
Don’t hesitate to inquire whether they offer guarantees on their work. A reputable service provider should stand by their results and provide a warranty that covers any issues that may arise post-polishing. By asking these questions, you’ll gain a clearer understanding of the service and be better equipped to make an informed decision.
Understanding the Cost Structure of Polishing Services
Understanding the pricing structure of professional porcelain tile polishing services is essential for effective budgeting. Costs can vary widely based on factors such as the size of the area to be polished, the condition of the tiles, and the specific services offered. Typically, companies may charge per square foot, so it’s advisable to obtain multiple quotes for comparison.
Be sure to inquire about what is included in the quoted price. Some companies may offer comprehensive packages that encompass cleaning, polishing, and sealing, while others may charge separately for these services. It’s crucial to understand what you’re paying for to avoid any surprises.
Moreover, consider the long-term value of investing in professional polishing services. While the initial costs may seem considerable, the benefits of maintaining your tiles—such as increased longevity, reduced maintenance, and enhanced aesthetics—can justify the expense. By understanding cost considerations, you can make an informed choice that aligns with your budget and expectations for your porcelain tiles.
Frequently Asked Questions About Porcelain Tile Polishing
What is the best method for cleaning polished porcelain tiles?
The most effective method for cleaning polished porcelain tiles involves using a pH-neutral cleaner with a soft cloth or a microfiber mop to prevent scratching the surface. Regular sweeping or vacuuming is also advised to minimise dirt accumulation.
How often should I repolish my porcelain tiles?
It is advisable to consider repolishing your porcelain tiles every few years, particularly if they exhibit signs of dullness or wear. Regular inspections will help determine the optimal timing for repolishing.
Is it safe to use vinegar for cleaning polished porcelain tiles?
While vinegar can be effective for cleaning, it’s best to avoid its use on polished porcelain tiles, as it may dull the finish. Opting for a pH-neutral cleaner is advisable instead.
What should I do if my porcelain tiles are scratched?
If your porcelain tiles show signs of scratching, consider using a finer polishing pad to refine the surface. For deeper scratches, consulting a professional polishing service may be necessary.
Is it worth investing in professional polishing?
Professional polishing is worthwhile as it enhances the aesthetics, durability, and longevity of your porcelain tiles, making them easier to maintain while preserving their value.
Can I polish porcelain tiles myself?
While it is possible to polish porcelain tiles on your own, hiring a professional guarantees optimal results, especially for larger areas or tiles that show significant wear and tear.
How can I prevent water spots from forming on my porcelain tiles?
To prevent water spots, ensure that the surface is thoroughly dried after cleaning and consider using a water spot remover if necessary. Maintaining a regular cleaning schedule will also help minimise their occurrence.
What type of sealant is best for polished porcelain tiles?
Select a high-quality sealant specifically designed for porcelain tiles. Look for products with water-repellent properties to enhance protection against moisture and staining.
How do I choose the best polishing service for my tiles?
When selecting a polishing service, prioritise experience, positive customer reviews, and a clear understanding of their process. Asking questions will ensure they meet your specific needs.
What are the signs that my polished porcelain tiles need cleaning?
Signs that your polished porcelain tiles require cleaning include visible dirt buildup, dullness, or difficulties in removing stains. Regular maintenance will help keep them looking their best.
The Article Professional Porcelain Tile Polishing: Expert Techniques first found on https://london-stone.co.uk
The Article Porcelain Tile Polishing: Expert Techniques for a Flawless Finish appeared first on https://fabritec.org
The Article Porcelain Tile Polishing Techniques for a Perfect Shine Was Found On https://limitsofstrategy.com